Generating High-Converting SaaS Pricing Pages in Dark Mode with AI
Your pricing page is the most conversion-critical page on your entire SaaS product. It's where users make the decision to pay or leave. Developer tools, AI products, and productivity software consistently show higher conversion rates with dark mode pricing pages — because their audience (developers and technical users) typically has dark mode enabled, and a native dark mode experience signals quality.
But dark mode pricing tables are deceptively hard to build. You need careful attention to contrast ratios (WCAG AA compliance requires 4.5:1 for normal text), gradient borders that don't look cheap, animated feature comparison toggles, and a "popular" badge that actually draws the eye without being garish.
The prompts in this guide generate complete, high-converting SaaS pricing components in React with Tailwind CSS — dark mode first, fully responsive, and ready to drop into your Next.js application.
Anatomy of a High-Converting SaaS Pricing Page
Before generating the code, understand what makes a pricing page convert. Research from CXL Institute and Reforge consistently shows:
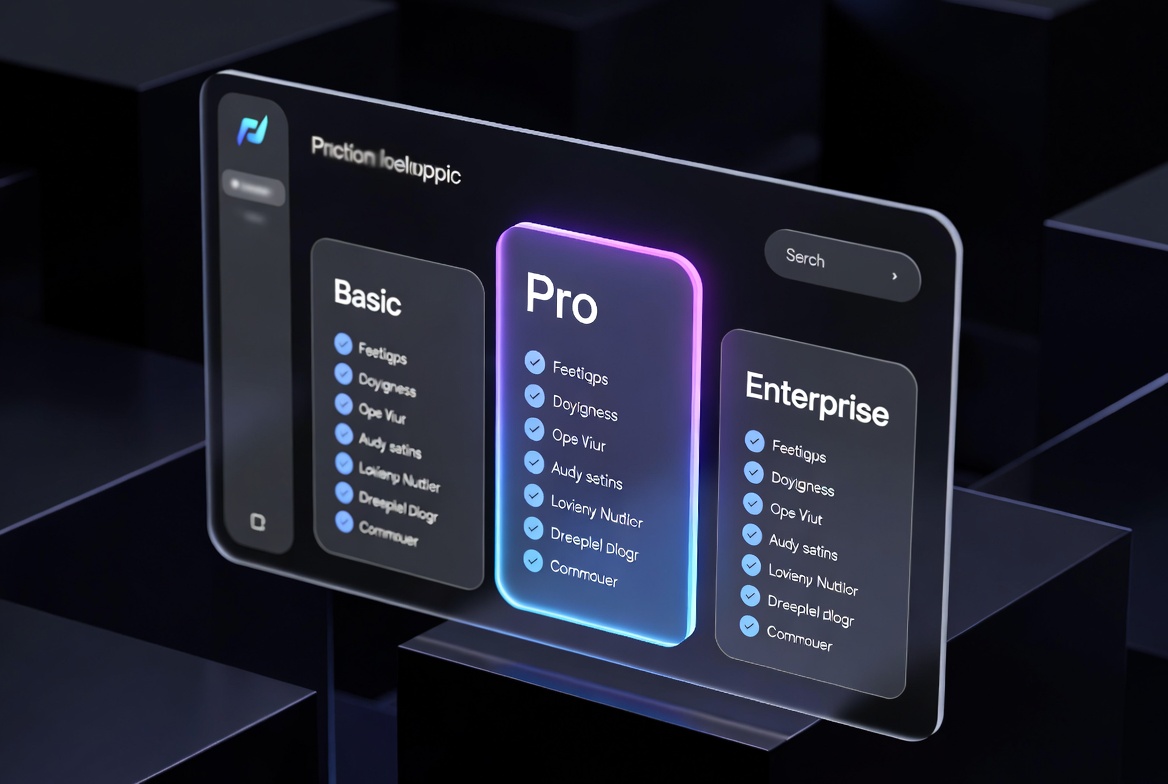
- 3 tiers is optimal — Free, Pro, Enterprise covers 90% of SaaS business models without overwhelming users with choice.
- Annual/monthly toggle reduces friction — showing both prices lets users self-select without feeling forced into annual commitments.
- The "popular" tier should be the most profitable — not necessarily the middle one. Place it where your target customer's budget naturally lands.
- Feature comparison tables (especially with checkmarks/X marks) dramatically reduce support questions about "what does Pro include?"
- 2-3 social proof elements per pricing page — logos, testimonials, or review stats — increase conversion by 15–30%.
Prompt 1: Three-Tier Pricing Cards in Dark Mode
"Act as a Senior React UI/UX Engineer. Build a complete SaaS pricing page component in dark mode using React TypeScript and Tailwind CSS v3. Requirements: (1) Three pricing tiers: Free ($0), Pro ($29/mo), Enterprise (custom). (2) An animated monthly/annual toggle using useState and a smooth CSS transition that shows 'Save 20%' badge when annual is selected. (3) Annual prices should be the monthly price * 10 (2 months free). (4) The Pro tier must be visually emphasized with: a gradient border (blue to violet CSS gradient border trick), a 'Most Popular' badge with a subtle glow, and a slightly elevated z-index. (5) Each tier card must have: price display, feature list with check icons (✓) and disabled icons (—), and a CTA button. (6) Use WCAG AA contrast ratios for all text. (7) The Free CTA is 'Get Started', Pro is 'Start Free Trial', Enterprise is 'Contact Sales'. Fully typed TypeScript."Prompt 2: Feature Comparison Table
"Write a React TypeScript feature comparison table component for a SaaS pricing page in dark mode. Requirements: (1) A sticky header row showing Free, Pro, Enterprise tier names and prices. (2) Feature rows grouped into collapsible sections ('Core Features', 'Collaboration', 'Security & Compliance', 'Support'). (3) Cell values can be: boolean (rendered as ✓ or —), string ('Unlimited', '5 users'), or number. (4) Use Tailwind CSS with alternating row backgrounds (bg-gray-900 and bg-gray-800/50) and sticky first column for feature names. (5) Add a collapse/expand animation using CSS transition on max-height. (6) Mobile responsive: on screens < md, hide the table and show a simplified feature list per tier instead. (7) TypeScript types for PricingFeature, FeatureGroup, and TierValue. Export as PricingComparisonTable."Prompt 3: Gradient Border Effect
The gradient border on the "Popular" card is a CSS technique that many developers struggle with. HTML/CSS doesn't support gradient borders natively — you need a background layer trick:
"Explain and implement the CSS gradient border technique for a React/Tailwind dark-mode pricing card. Use the 'background-clip with pseudo-element' approach: (1) Parent div has position: relative, padding: 1px (the border width), border-radius, and a CSS conic-gradient or linear-gradient background. (2) Inner div has the card's actual background color (bg-gray-900) with matching border-radius, covering the gradient parent except for the 1px border area. (3) Add a subtle glow effect using box-shadow with the gradient's primary color at 20% opacity. (4) Animate the gradient on hover by rotating the conic-gradient angle using CSS custom property + @keyframes. (5) Implement this as a reusable GradientBorderCard React component that accepts gradient prop as a CSS gradient string. Show both Tailwind arbitrary property approach and explicit CSS approach."Prompt 4: Integration with Stripe and Lemon Squeezy
"Write a Next.js 14 App Router API route and client component for a Stripe-powered pricing page. Requirements: (1) A /api/checkout/route.ts that creates a Stripe Checkout Session with: priceId from query param, success_url and cancel_url, and customer email pre-fill if user is logged in via Supabase auth. (2) A useCheckout() React hook that calls this API route via fetch and redirects to the Stripe checkout URL. (3) Handle loading state on the CTA button (disabled + spinner while creating session). (4) Handle errors with a toast notification using react-hot-toast. (5) After successful payment, Stripe redirects to /success?session_id={CHECKOUT_SESSION_ID} — create this page that fetches the session and shows order confirmation. (6) Include proper Stripe webhook verification for /api/webhook route to update user subscription status in Supabase."Pro Tips for Pricing Page Conversions
💡 Anchor Pricing to the Enterprise Tier
Humans make decisions relative to reference points. When users see "Enterprise: $299/mo" before seeing "Pro: $29/mo", the Pro tier feels extremely reasonable. This anchoring effect is well-documented in behavioral economics and can increase Pro tier conversions by 20–35%.
✅ Show Pricing in Multiple Formats
Display monthly, daily, and per-seat pricing simultaneously. "$29/month" feels larger than "$0.97/day" or "$1.45/user/month for 20 users". Choose the format that makes your value most apparent for your specific customer segment.
Frequently Asked Questions
Q: Should I use Radix UI or headless components for the pricing table?
A: For pricing tables specifically, custom components with Tailwind CSS work better than headless libraries. Pricing tables have very specific layout requirements (sticky columns, responsive collapse) that headless primitives aren't optimized for. Use Radix's Dialog for your checkout modal overlay, but build the table structure from scratch.
Q: How do I handle tax display (e.g., "plus VAT") on pricing pages?
A: The safest approach is to display prices as "excluding tax" and add a small note like "Prices shown are exclusive of applicable taxes". For EU users, Stripe Radar can detect country and Stripe Tax can automatically calculate and display the correct VAT. Don't try to manually calculate tax rates — use a purpose-built solution.
Q: What's the impact of adding a free trial vs. a free tier?
A: Free trials (time-limited full access) typically have higher initial conversion rates than free tiers (permanent limited access). However, free tiers generate more organic word-of-mouth because users keep accounts long-term. Choose based on your acquisition model: free trials suit product-led sales, free tiers suit viral/community-led growth.
Naveen Teja Palle
Frontend Architect · SaaS Builder
React engineer with experience building pricing pages for SaaS products that have collectively onboarded thousands of customers. Focuses on conversion-optimized, accessible, dark-mode-first interfaces.
200+ SaaS UI Component Prompts
Pricing pages, dashboards, auth flows, onboarding — every SaaS UI pattern, production-ready.
Explore Web Component Prompts →